Setup
Instructions for Windows
How to set up your Bitcoin Core node using a chainstate.io snapshot on Windows.
Buy and download the snapshot
Purchase a snapshot on chainstate.io. After payment, you will receive a download link valid for 24 hours, which will also be sent to your email. Download the .tar archive to your computer.
Extract the archive
Right-click the .tar file and choose Extract All, or use a tool like 7-Zip. Inside the extracted folder you will find two folders: blocks and chainstate. Keep this window open — you will need these folders in Step 4.
Install Bitcoin Core, run it once, then quit
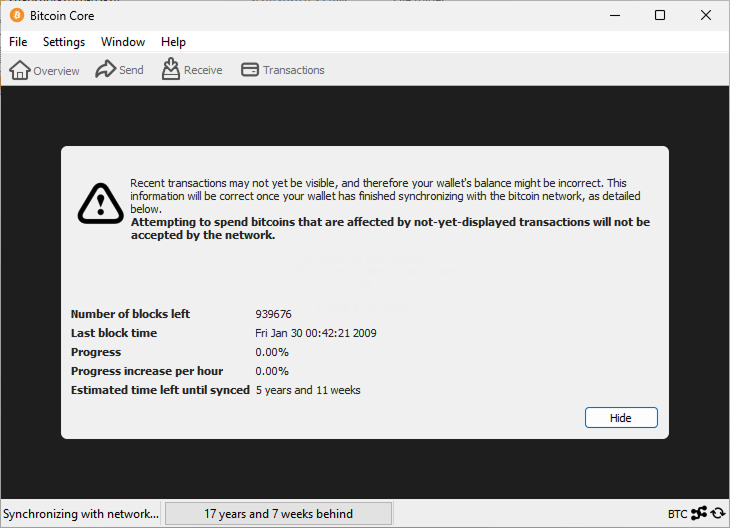
Download and install Bitcoin Core from bitcoincore.org if you haven't already. Launch it and wait for it to start — it will create its data directory at:
C:\Users\<YourUsername>\AppData\Roaming\Bitcoin\
Once it has started, quit Bitcoin Core before continuing. You can open the AppData folder quickly by typing %APPDATA%\Bitcoin in the Windows Explorer address bar.
Replace the blocks and chainstate folders
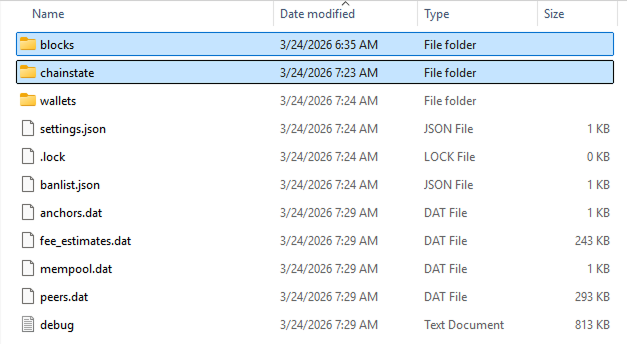
Make sure Bitcoin Core is fully closed. Open the Bitcoin data directory:
C:\Users\<YourUsername>\AppData\Roaming\Bitcoin\
Delete the existing blocks and chainstate folders, then copy the two folders from your extracted snapshot into this directory.
Start Bitcoin Core
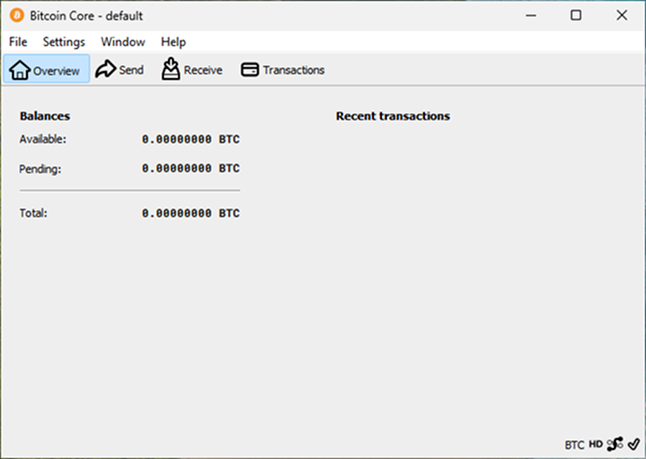
Launch Bitcoin Core. It will detect the existing chain data from the snapshot and start syncing only the remaining blocks — no full initial block download needed. Your node will be fully caught up within a few minutes at most.
Chain state verification
Optionally, confirm your node holds exactly the same set of unspent outputs as the rest of the network. Run gettxoutsetinfo muhash and compare the resulting MuHash against a known-good value for the same block height. See Chain state verification for the full walkthrough.
Having trouble? Contact us at support@chainstate.io and we'll help you get set up.